Recording
Recordings will use the selected Canvas settings, using the same resolution, video and audio bitrates, framerate, and hardware encoder. For the Vertical Canvas, the resolution is fixed at 1080×1920. All other settings will match the Main Canvas, except for bitrate, which can be customized separately.
Recording Output Settings
You can choose where your recorded files are saved by setting a local destination:
- Navigate to
Settings → General → Recording - In the output settings, locate the Local Destination field.
- Click the Browse button.
- Select the folder or directory where you want your recordings to be saved.
- Optionally, you can also manually paste a file path URL, such as:
file:///Users/MainUser/Recordings/Tutorial
Your recordings will now automatically save to the specified folder.
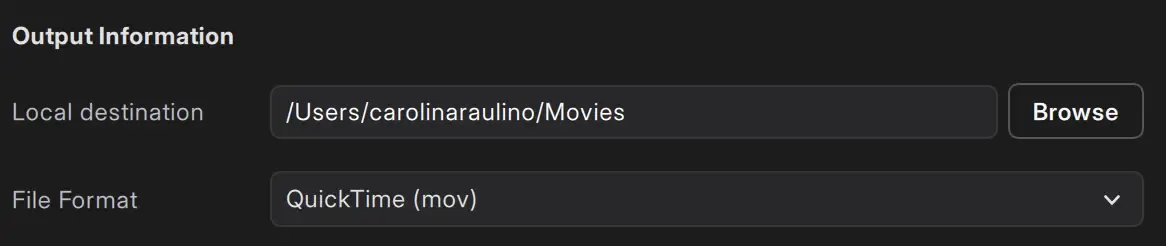
Recording File Format
Meld Studio offers three file format options for recording:
- QuickTime (mov)
- Matroska (mkv)
- Flash Video (flv)
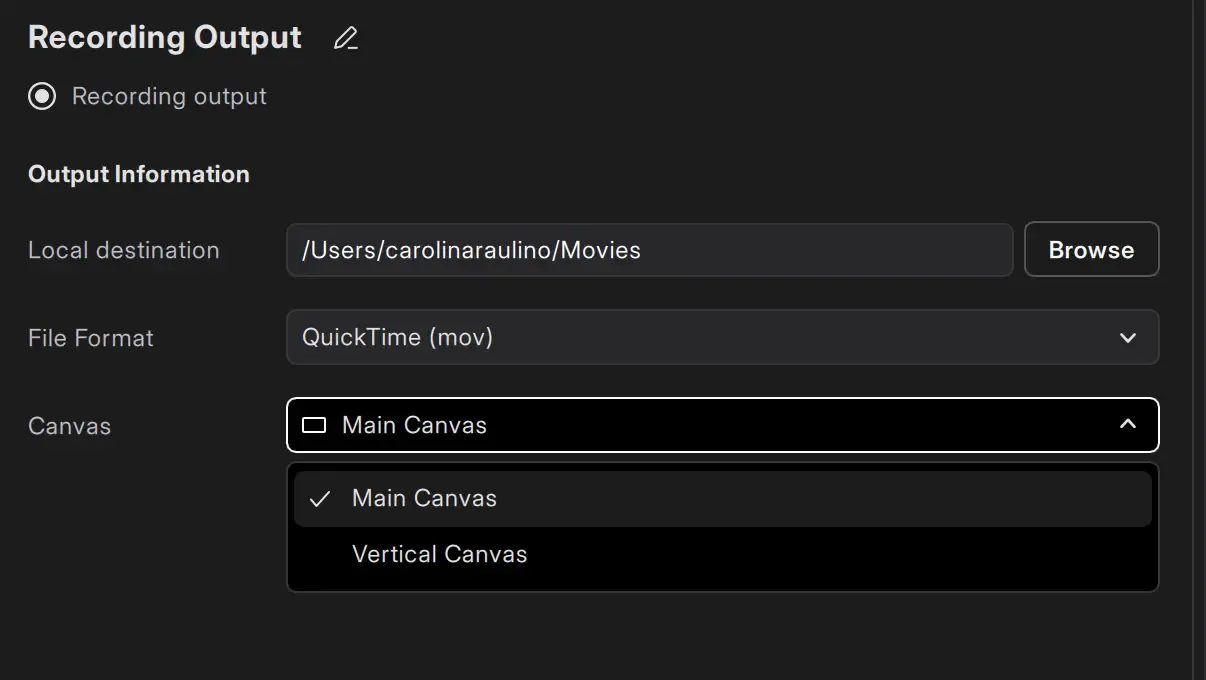
Recording Canvas Output
Select which canvas to record.
How To Record
- Navigate to the top-right corner of the main viewport.
- Find the Record button on the right side of the Go live button.
- Click Record to start recording.
Click on Stop recording to stop. Your video file will be saved in the designated local destination.
Clipping
Clipping allows short video segments to be captured from your canvas in real time.
To create clips, Clipping must be enabled. When active, Meld Studio keeps the encoder running continuously in the background, even when not streaming or recording.
This ensures that the content is always available for clipping.
Clips will also use the selected Canvas settings, using the same resolution, video and audio bitrates, framerate, and hardware encoder. For the Vertical Canvas, the resolution is fixed at 1080×1920. All other settings will match the Main Canvas, except for bitrate, which can be customized separately.
Enable Clipping
Enable clipping to be able to start clipping.
- Navigate to
Preferences → General → Clipping - In the output settings, use the toggle at the top right to Enable Clipping.
Clip Local Destination
You can choose where your recorded files are saved by setting a local destination:
- Navigate to
Preferences → General → Clipping - In the output settings, locate the Local Destination field.
- Click the Browse button.
- Select the folder or directory where you want your clips to be saved.
- Optionally, you can also manually paste a file path URL, such as:
file:///Users/MainUser/SocialMedia/Clips/30seconds
Your clips will now automatically save to the specified folder.
Clipping File Format
Meld Studio offers three file format options for clips:
- QuickTime (mov)
- Matroska (mkv)
- Flash Video (flv)
Clipping Canvas Output
Select which canvas to clip.
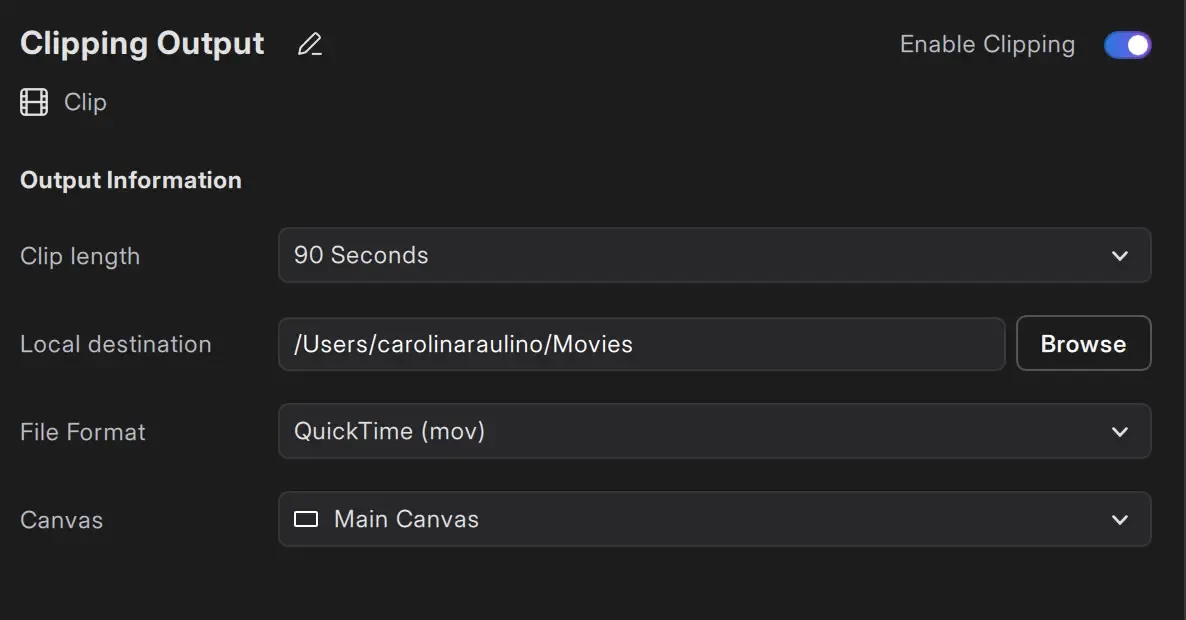
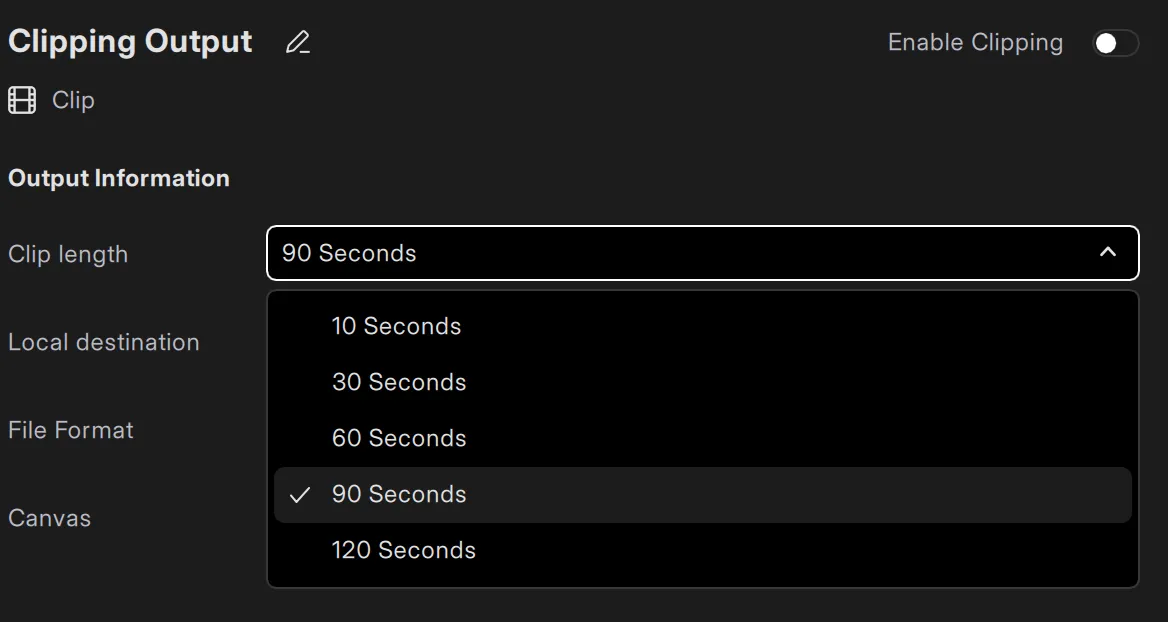
Clip Length
Set the Clip length in the Clipping Output settings. The length options are:
- 10 Seconds
- 30 Seconds
- 60 Seconds
- 90 Seconds (default)
- 120 Seconds
Make A Clip
- Navigate to the top-right corner of the main viewport.
- Find the Clip button on the right side of the Record button.
- Click the Clip button.
FAQ
Answers to common questions.
Can I record and stream simultaneously?
Yes, you can! Meld Studio allows you to record while streaming without affecting your stream quality.
Can I record without streaming?
Yes! Use Meld Studio for offline recordings without starting a stream.
Where are my recordings saved?
Your recordings are saved in the folder specified in 'Local destination' under the Recording settings.
Navigate to Preferences → General → Recording → Local destination.
How can I adjust the recording resolution?
The recording resolution matches your Canvas settings. You can adjust the Canvas resolution in Preferences → General → Encoder Settings.
What formats are available for recording?
Meld Studio supports QuickTime (mov), Matroska (mkv), and Flash Video (flv) formats. Choose the file format in Preferences → General → Recording.
What does "Same as canvas" mean for Encoder settings?
It means that your recording will match the canvas resolution.
What does "Same as stream" mean for Recording settings?
It means that the recording will use the Encoder settings as your livestream.
Can I record in 4K or vertical resolutions like Portrait 1080p?
Yes! Meld Studio supports recording in various resolutions, including 4K, 1440p, 1080p, 720p, and Portrait resolutions like Portrait 4K, Portrait 1080p, and Portrait 720p.
How do I take a screenshot of my recording setup?
Use the Take Screenshot feature by navigating to View → Take Screenshot, pressing the default hotkey F2, or using the Stream Deck plugin action. Configure the screenshot save location in Preferences → General → Screenshots.